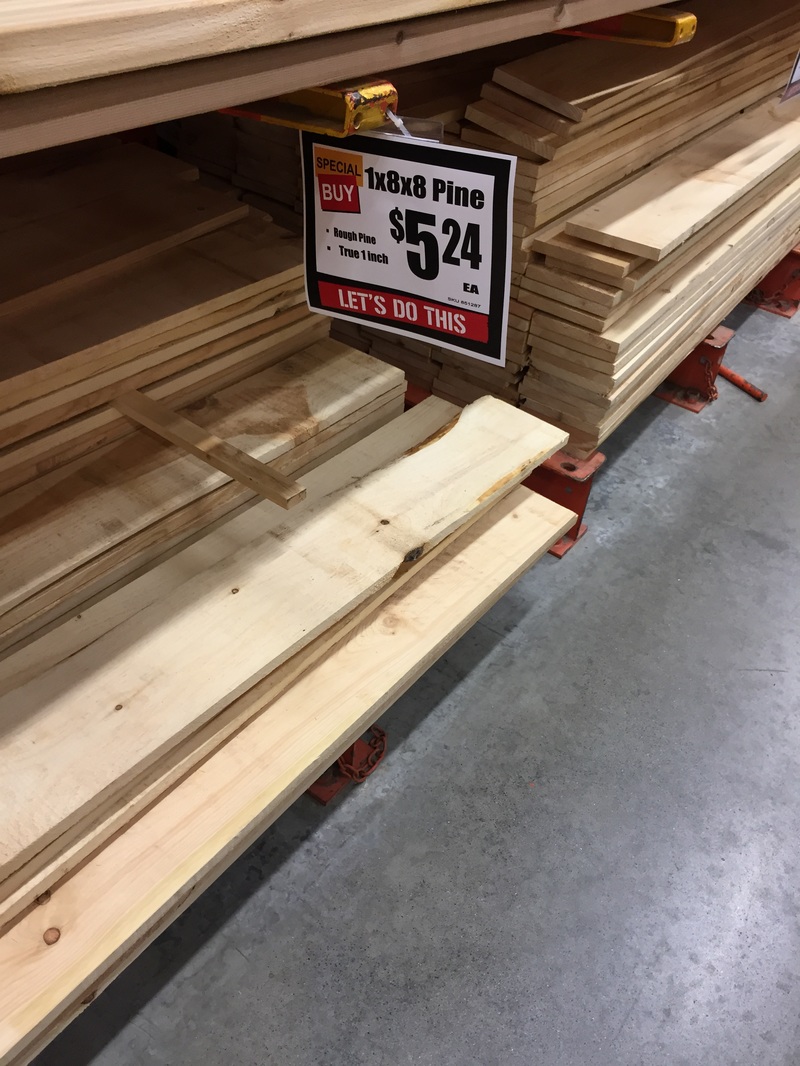
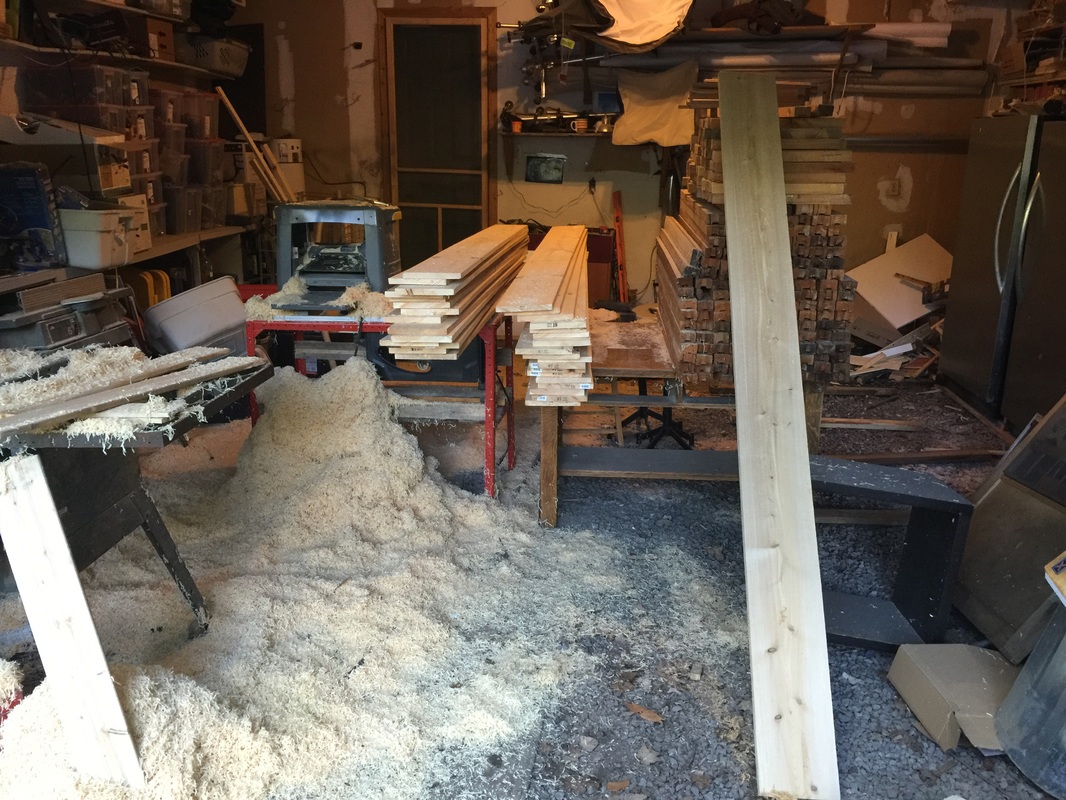
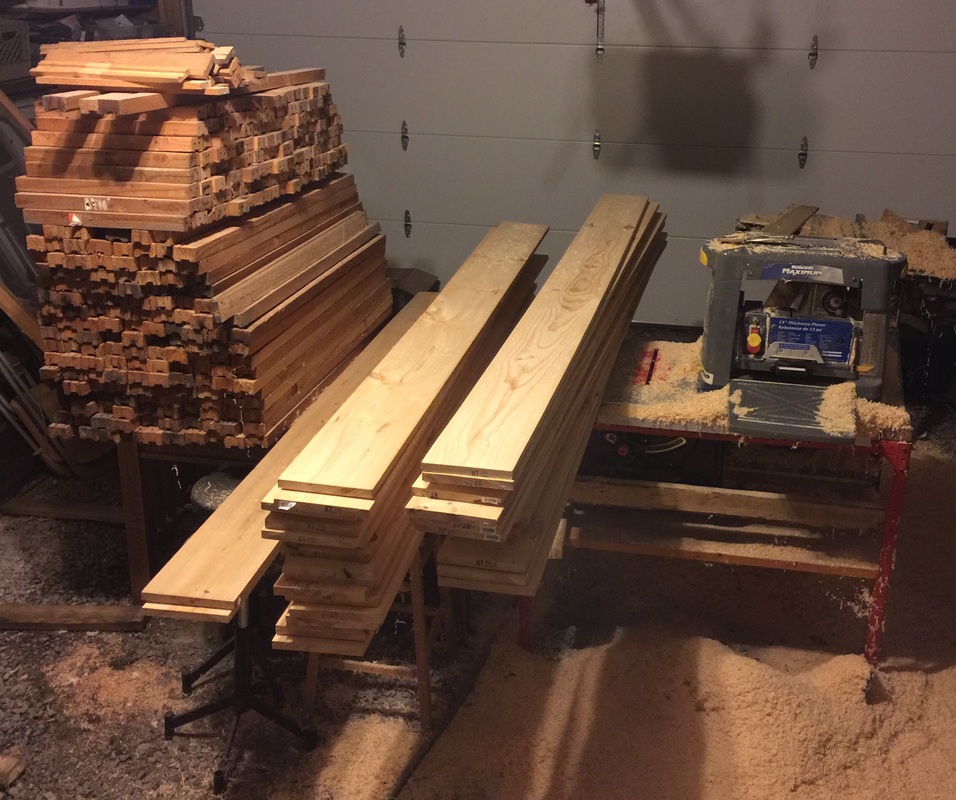
I currently have wood floors in all rooms but two. I used some spare time today to start the pine floor in the kids room. Really this is step 3. Step one was buying (cheap from Home Depot - about $1/sq ft). Step 2 was acclimatizing for 6 months. Step three is now planing. I bought approximately 170 sq ft of rough pine in 1x8x8', I have a 13" mastercraft planer from my brother-in-law. Not the best but it works. I used the planer to plane it down to 3/4" (0.756" actually). Took about 6 straight hours of work, as each pass took off only 1/32". Looks good and ready for the next steps: Jointing, Ripping, Tongue & Groove and finally the easy bit - installation. In the bottom picture below, the stacked wood right of the newly planed pine is the reclaimed/pallet douglas fir which will be the last bit of the puzzle and used in the master bedroom and kitchen floor.
|
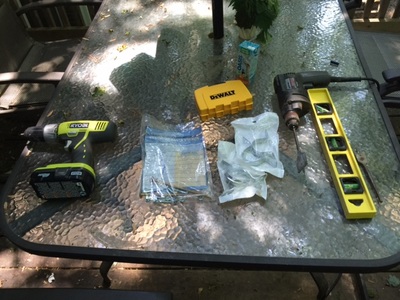
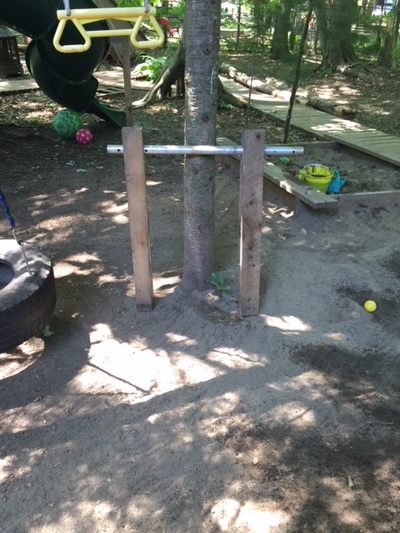
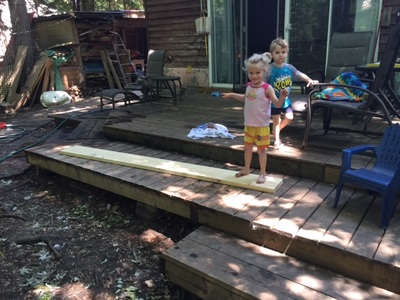
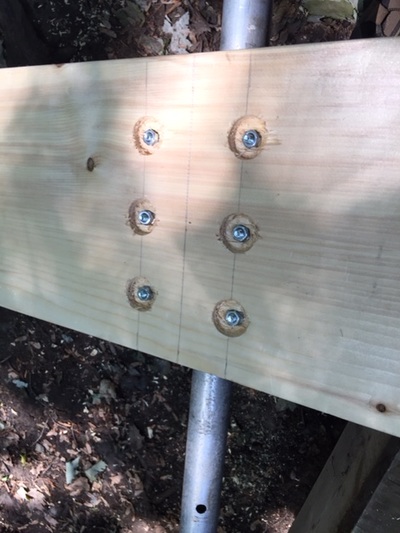
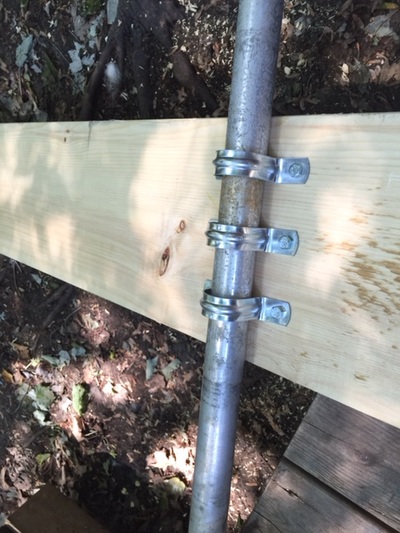
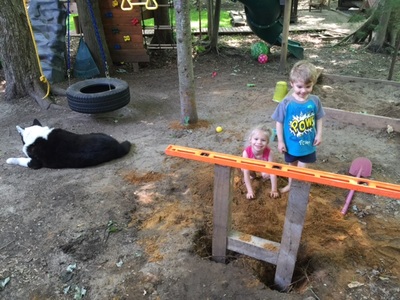
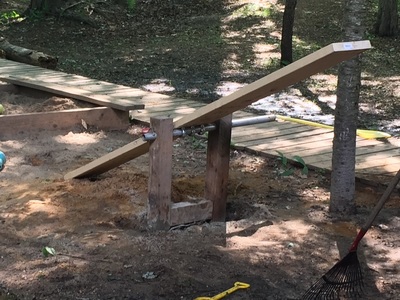
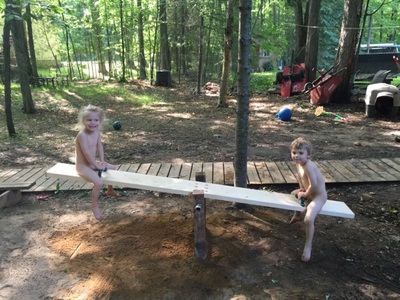
Decided to make a simple but solid seesaw for the kids. First I moved the kids sand box to create a suitable space for the seesaw (at least 10x4ft in area). I then built a simple frame using 4x4's and my spare pipe. Cross beam is 12". Frame height was about 35". I cut the pipe in the end to be about 24". Next trick was to attach the pipe clamps to the seat board. I needed more strength than just wood screws so I used short bolts. 1/4 bolts fit the clamps and were very secure. I probably could have got away with just two clamps. I drilled an insert so that the munchkins would not be walking on or bumping into exposed nuts. I dug holes about 12" in depth to place the frame. I aimed for the pipe to be approximately 22" off the ground. Once level all around I then used quick set post cement to lock it in place. I tried to keep the kids off for at least 20 minutes. I then drilled holes through the pipe on each side of each frame to place the locking clips (4 in total). A side benefit is that the seat board can be removed easily at any time for repair or events. You can also drill lower holes in the frame assembly for even smaller kids. My two just turned 4. Overall the seesaw turned out a lot more solid than I expected. I used parts I had kicking around:
Parts I bought ($32 worth at Lowes this time)
|
AuthorJust a blog about what we and the kids are up to. Also some projects that I may be doing. Archives
July 2018
Categories
All
|
 RSS Feed
